 IGUANIFY
4 Character Relationship Map Layouts for Writers: One Tracks Time

A character relationship map is a diagram where each character is a node and each connection between them is a labeled edge, showing allies, rivals, family, and secrets at a glance. Building one lets you spot missing ties, overloaded protagonists, and conflicts you haven’t written yet. Below, you’ll find templates, a step-by-step build process, and tool guidance to get one on the page today.
TL;DR:
- Use a protagonist centered sketch for short fiction, a family tree for inheritance plots, faction clusters for ensembles, or a timeline for serialized stories.
- Start with the protagonist and three or four conflict shaping characters, then label ties, mark polarity, and use arrows for one sided relationships.
- Use a flexible canvas for early drafting and collaboration; move to dedicated mapping software when a cast exceeds a dozen characters or needs filters.
- Track each tie as positive, negative, or neutral by chapter, and save labeled snapshots alongside an editable master to catch unexplained shifts.
- Export PDFs for collaborators, PNG or SVG for visual references, and keep an editable master with chapter or episode labeled snapshots as your source of truth.
Table of Contents
- What a relationship map looks like and when to use each layout
- Templates and examples to start your map
- How to build and revise your map step by step
- Choosing between canvas apps and dedicated character tools
- Tracking relationships across chapters with temporal signed networks
- A quick checklist for exporting, sharing, and versioning
- Using relationship maps to plan a serialized story
- Another option: turn your map into produced episodes
- FAQ
- Sources
What a relationship map looks like and when to use each layout
At its core, a map is simple: circles or cards for characters, lines for relationships, and a short label on each line describing what connects them. Beyond that basic model, the layout you choose should match your project.
- Protagonist-centered: one hub with every other character radiating out, best for single-POV novels or short stories.
- Family tree: vertical generational lines, ideal for sagas or any story where bloodline and inheritance drive plot.
- Faction clusters: grouped nodes by allegiance, suited to political fantasy, war stories, or large ensemble casts.
- Timeline-integrated: a map laid alongside a chapter or episode axis, useful for serialized fiction where relationships shift over time.
A short story usually needs nothing more than a protagonist-centered sketch. A series with multiple arcs benefits from the timeline version, since it shows not just who connects to whom but when that connection changed.
Templates and examples to start your map
You don’t need to design a system from scratch. A few fields on each character card cover most needs, and a handful of connector phrases cover most relationships.
- Core card fields: name, role in the story, POV notes, personal stakes, a reference image, and a one-line arc summary.
- Connector labels: family, partner, ally, rival, mentor, secret-holder, debt, or faction membership work for most genres.
- Arrow direction: use arrows when the relationship is one-sided, such as unrequited loyalty or a secret only one party knows.
For the format itself, a printable sheet works for quick brainstorming, a drag-and-drop canvas suits ongoing revision, and a spreadsheet suits writers who prefer rows and columns over visuals. Milanote’s character relationship template gives you a ready-made canvas with cards, connectors, and notes already arranged, so you start placing characters instead of designing the board. Pick whichever format you’ll actually keep updating. A gorgeous diagram that never gets touched after chapter one is worse than a plain spreadsheet you revise every week.
How to build and revise your map step by step
Start small and let the map grow with your draft. Here’s a workflow that keeps it useful instead of overwhelming.
- Place your core cast first. Put your protagonist (or protagonists) at the center, then add the three or four characters who shape the main conflict.
- Add supporting characters and draw labeled edges. Connect each new node with a line that names the relationship, and use arrows when the viewpoint is asymmetric, such as one character trusting another who doesn’t trust back.
- Mark polarity and add context. Tag each edge as positive, negative, or neutral, and attach a short phrase like “owes a debt” or “hiding the truth” so the label means something months later.
- Export a dated snapshot and keep an editable master. Save a PDF or image for your story bible each time you finish a draft pass, but keep one working file you can still rearrange. The Milanote template supports exactly this: start with the protagonist, add supporting cast, draw labeled ties, and revise as the story changes.
Pro Tip: Rename your export file with the chapter or episode number, not just the date, so you can line up a relationship shift with the exact scene that caused it.
Choosing between canvas apps and dedicated character tools
Two kinds of tools handle this job well, and they’re built for different moments in your process.
- General canvas apps give you flexible layout, easy collaboration, and simple export, which makes them fast for a first draft of the map or a shared brainstorming session.
- Dedicated character-mapping tools offer typed relationships, filters, and story-specific fields, which pays off once your cast grows past a dozen names and you need to track polarity or faction membership at scale.
A practical path is to draft loosely on a canvas, then migrate to a dedicated tool once the cast and plot stabilize enough to justify structured tracking. Before committing to either, check export formats and privacy settings, especially if you’re sharing drafts with collaborators or an editor. Canvases prioritize layout and group work; dedicated tools prioritize structured data you can filter and query later. Knowing which one you need saves you from rebuilding the map twice.
Tracking relationships across chapters with temporal signed networks
Once you’re working on a series, a single static map stops being enough, because relationships that were friendly in chapter three can turn hostile by chapter twelve. Researchers describe this as a temporal signed network: a graph where each edge carries a label (positive, negative, or neutral) that can change at each point in the story’s timeline. An ACM survey on fictional character networks frames character networks as graphs where vertices are characters and edges are interactions, and reviews how extraction and analysis methods support diagnostic uses like spotting role shifts or summarizing arcs rather than proving anything deterministic about the plot.

One dataset project built from literary fiction reports 626 temporal signed character networks and 75,482 character-relationship observations, tracked across eight genres and six historical epochs. That scale shows fictional social worlds tend to follow small-world and densification patterns, meaning casts often cluster tightly around a few central relationships even as the story’s web of ties grows.
For your own project, you don’t need research-grade tooling to borrow the idea:
- Add a polarity tag (positive, negative, neutral) to each edge at the chapter level, not just once for the whole story.
- Check for densification: if your cast’s connections grow faster than the cast itself, flag that chapter for a continuity review.
- Export a snapshot per chapter or episode so you can compare polarity shifts side by side later.
A quick checklist for exporting, sharing, and versioning
Your map only helps if it’s usable weeks later, so build a habit around saving it.
- Export for sharing: PDF for collaborators who need to comment, PNG or SVG when you need a clean visual reference.
- Keep a native master file: your editable canvas or spreadsheet stays the single source of truth, while exports are disposable snapshots.
- Date and label every version: name files by chapter or episode number so you can trace exactly when a tie changed.
- Make collaboration easy: use a comment-enabled canvas or a shared folder, and keep one simplified one-page version for editors who don’t need every sub-plot.
Using relationship maps to plan a serialized story
On one project, a map revealed that a side character had been written as loyal in episode two and suspicious by episode five with no scene explaining the shift. Flagging that gap on the timeline-integrated version let us write a short bridging beat before the inconsistency reached a final cut. That same habit now shapes how we note recurring-character continuity before any episode gets outlined; our pilot outline templates and recurring character guidance both grew out of exactly this kind of map-driven check.
— Leonard
Another option: turn your map into produced episodes
Once your character map and outline feel solid, converting them into something watchable is its own project, often the slowest part of the whole process. We built Iguanify as a path around that: send us a premise and we produce serialized, vertically formatted episodes with recurring characters who stay consistent from one installment to the next, no editing software or production crew required.
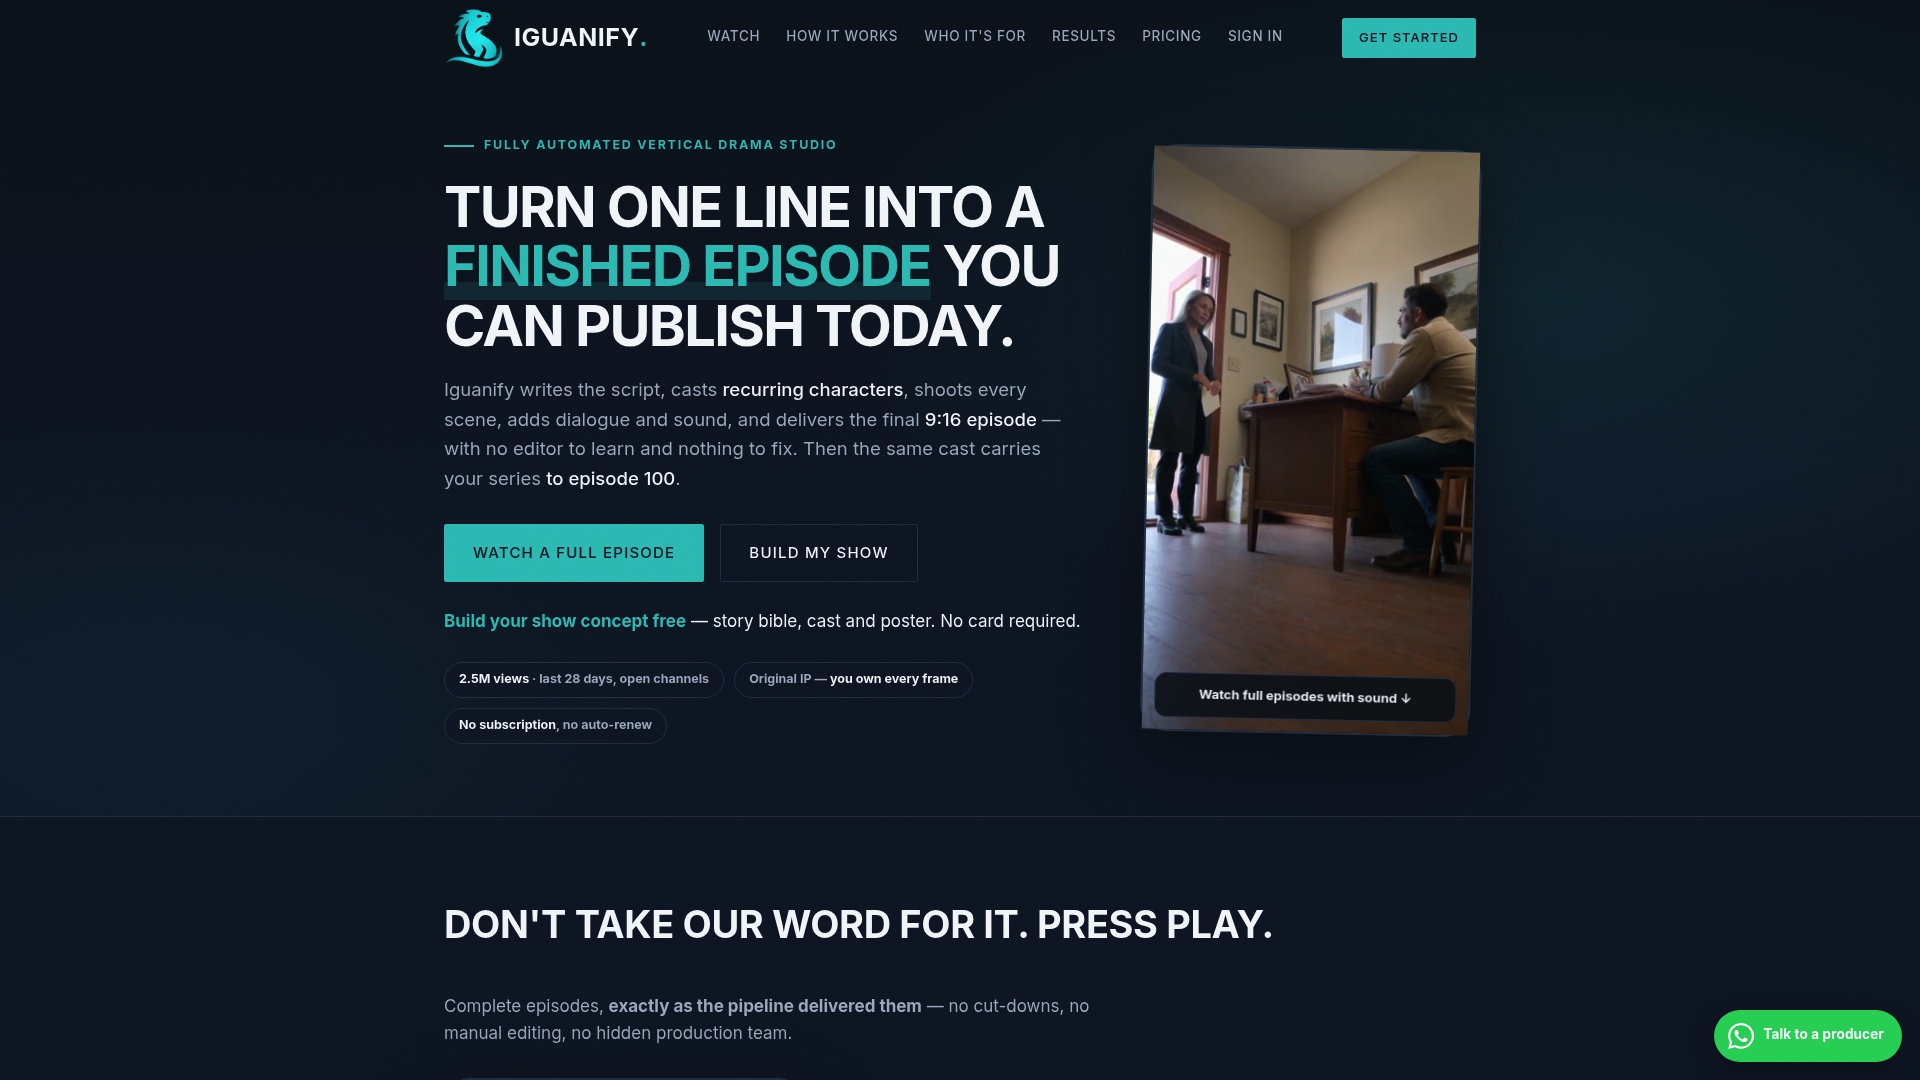
We offer a Standard episode and a Pilot at $34.99 one-off per episode, along with Creator, Season, Studio, and Slate options and fully commissioned production for teams that want a done-for-you studio relationship. You keep full ownership of whatever we produce, ready to publish straight to TikTok, YouTube, or Instagram. If you’d rather build character behavior yourself before producing anything, a stateful longform roleplay workflow is worth a look for prototyping how a character responds across long conversations. When your map and series bible are ready, see our episodic production offerings and get your first episode started.
FAQ
What is a character relationship map used for?
A character relationship map helps you visualize how your cast connects, so you can spot missing ties, overloaded protagonists, or unresolved conflicts before you draft further. Writers commonly use it during outlining and again during revision to check continuity.
What should I include on each character card?
A useful card includes the character’s name, their role in the story, POV notes, personal stakes, a reference image, and a one-line arc summary. Keep labels on the connecting lines short and specific, like “mentor” or “secret-holder,” rather than vague.
Should I use a canvas app or a dedicated character-mapping tool?
General canvas apps work well for fast drafting and team collaboration, while dedicated tools suit larger casts where you need typed relationships and filtering. A common approach is to draft loosely on a canvas, such as the Milanote template, then migrate to a dedicated tool as your cast grows.
How do temporal signed networks help with series continuity?
Temporal signed networks label each relationship as positive, negative, or neutral and track how that label changes over chapters or episodes, rather than freezing relationships in one final diagram. A dataset of 626 literary networks with 75,482 character-relationship observations shows this chapter-level tracking is practical even for complex, multi-genre casts.
Can I turn a finished character map into a produced video series?
Yes. Once your map and series bible are set, a platform like ours at Iguanify can take that outline and produce serialized episodes with consistent recurring characters, ready to publish without manual editing.
Sources
- Character Relationship Chart: Free Template & Example - Milanote
- L-Earthling/temporal-literary-networks
- Extraction and analysis of fictional character networks: a survey - ACM